


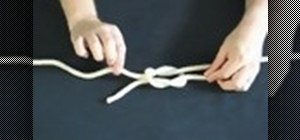
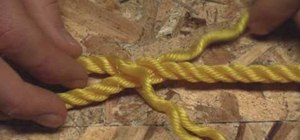
ITS Tactical demonstrates how to tie a Lanyard Knot in this weeks edition of "Knot Of The Week".
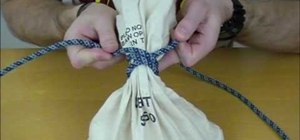
This knot is most easily made by using your hand, held sideways and flat.
Start by creating a loop around your index, middle and ring fingers, allowing one of the ends of the rope to drape behind your fingers, and the other to slip behind your pinky finger.
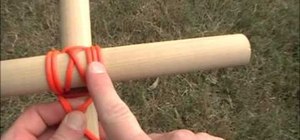
Take the slack behind your hand and create another, smaller loop. You'll place this loop over the vertical portion in front of your fingers.
Bring the standing portion (the portion behind your pinky) behind the tail of the loop you just made and thread it through the "bar" (the first portion in front of your fingers) in the loop, ensuring that the rope passes in front of the two halves of the loop, but behind the bar. This should result in a diamond pattern, with the diamond being in the center of the pattern.
Take the bottom tail and loop it behind the top of the pattern and feed it through the diamond in the center.
Take the top tail and loop it behind the bottom of the pattern and feed it through the diamond in the center.
Now, you should have two tails, one to the right and another to the left.
Pull the two tails down, leaving your index, middle and ring fingers in the pattern to form the final loop.
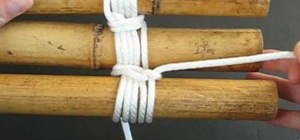
Clean up the knot by pulling each strand of the knot tight.
The Lanyard Knot can be used as a decorative knot or used for anything that requires a fixed loop.
Just updated your iPhone? You'll find new emoji, enhanced security, podcast transcripts, Apple Cash virtual numbers, and other useful features. There are even new additions hidden within Safari. Find out what's new and changed on your iPhone with the iOS 17.4 update.


Be the First to Comment
Share Your Thoughts